Manage and sign an approval request in SMS
Table of Contents
Manage an approval request
- Go to the 'Studies' tab.
- Open a study.
- Go to the 'Approval requests' tab.
- Open the approval request.
- Fill in the form.
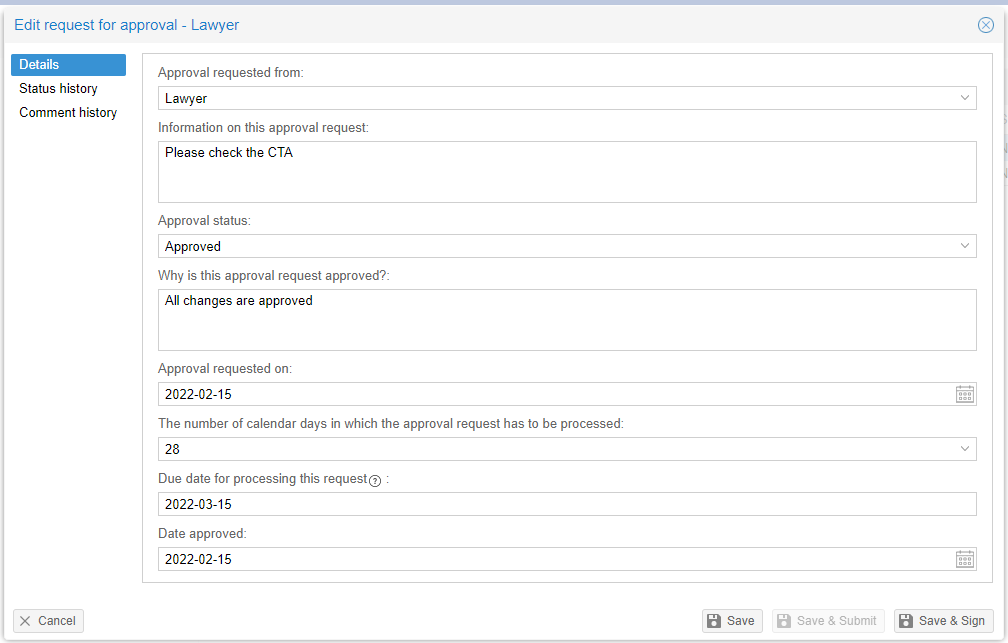
- Click on 'Save' to store the response.
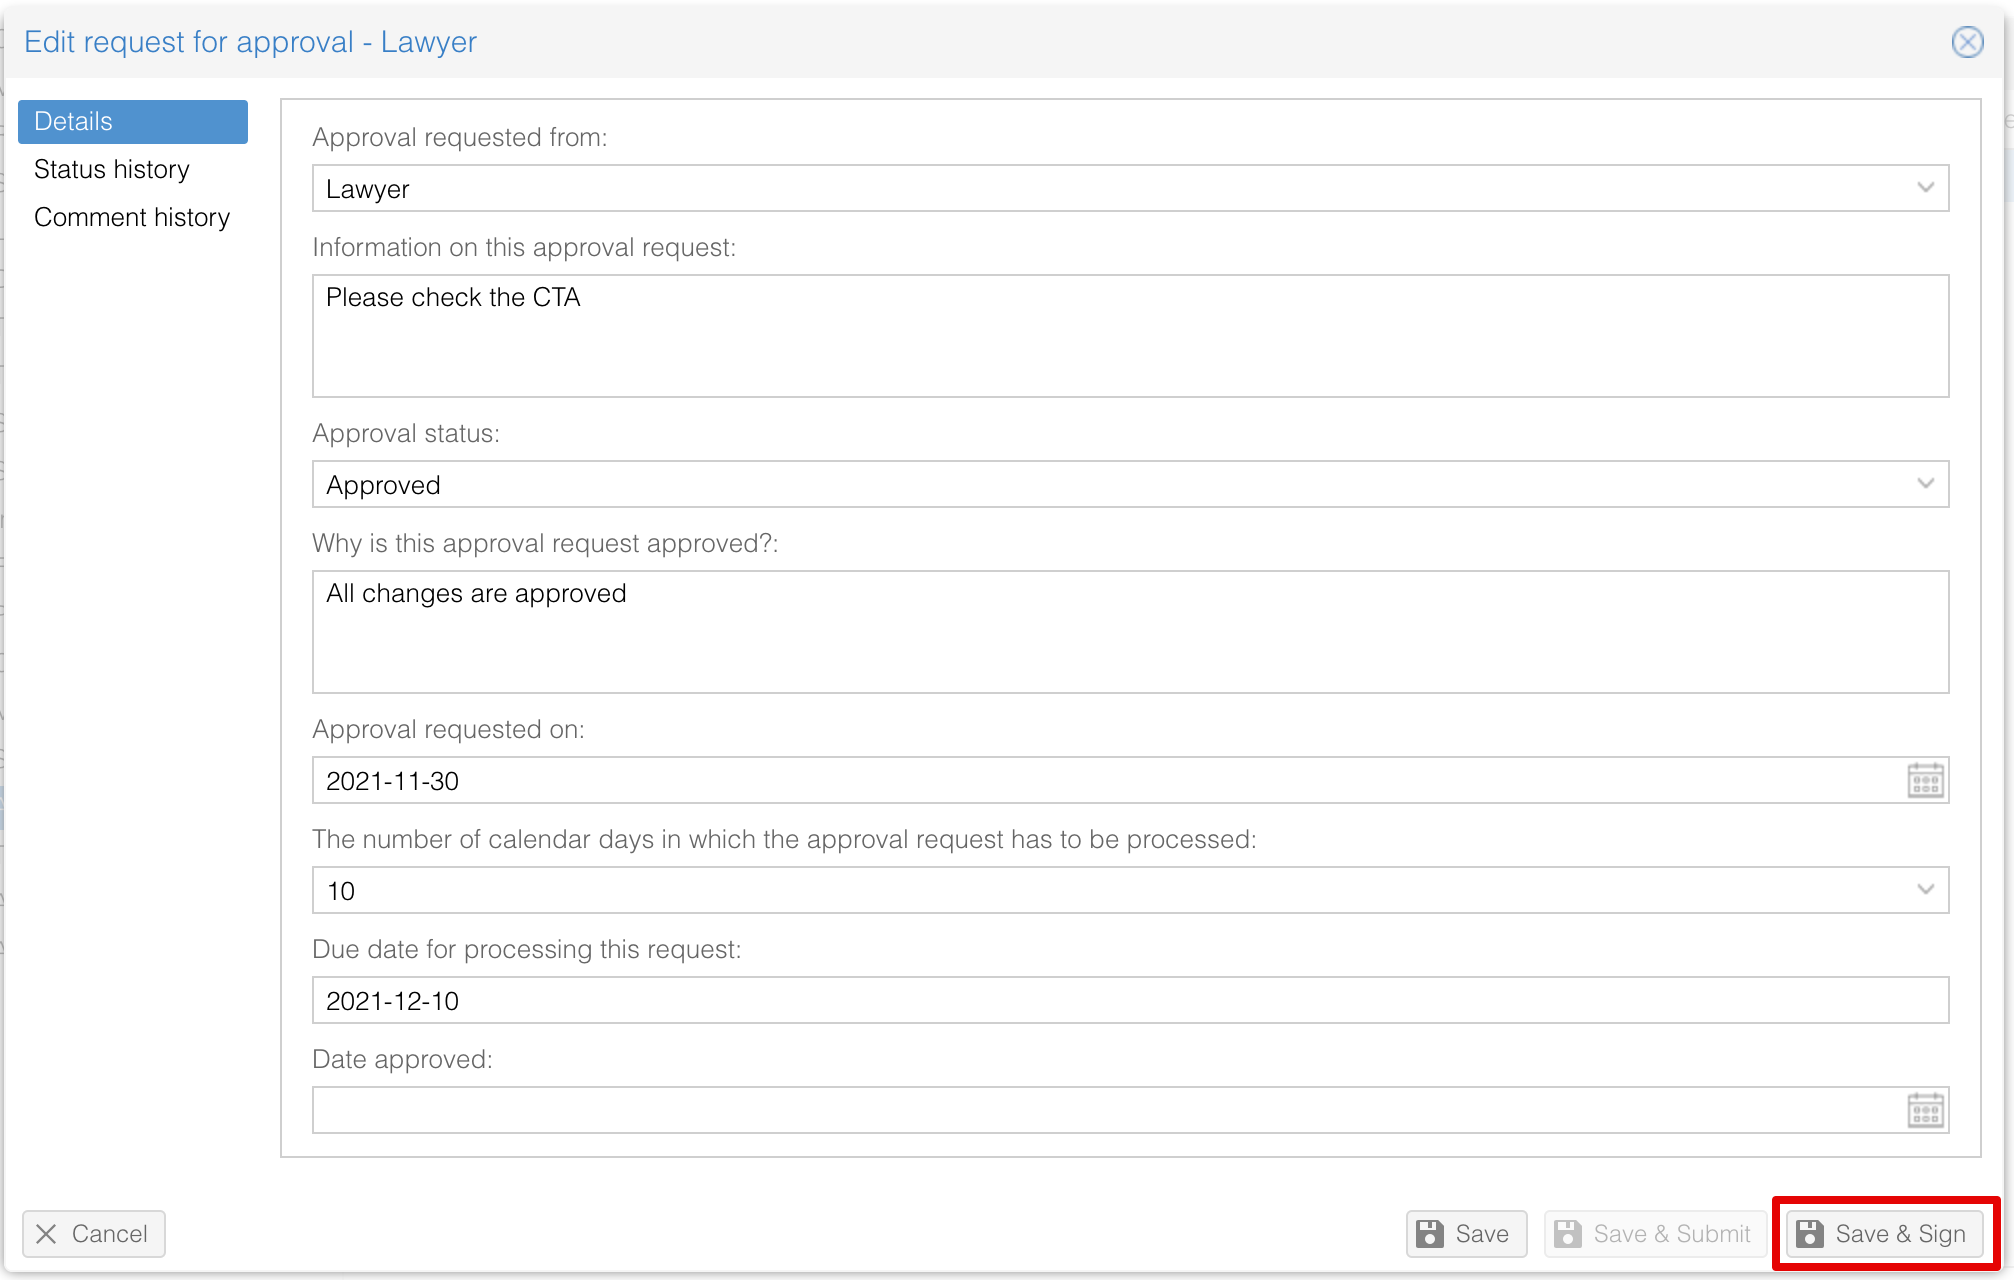
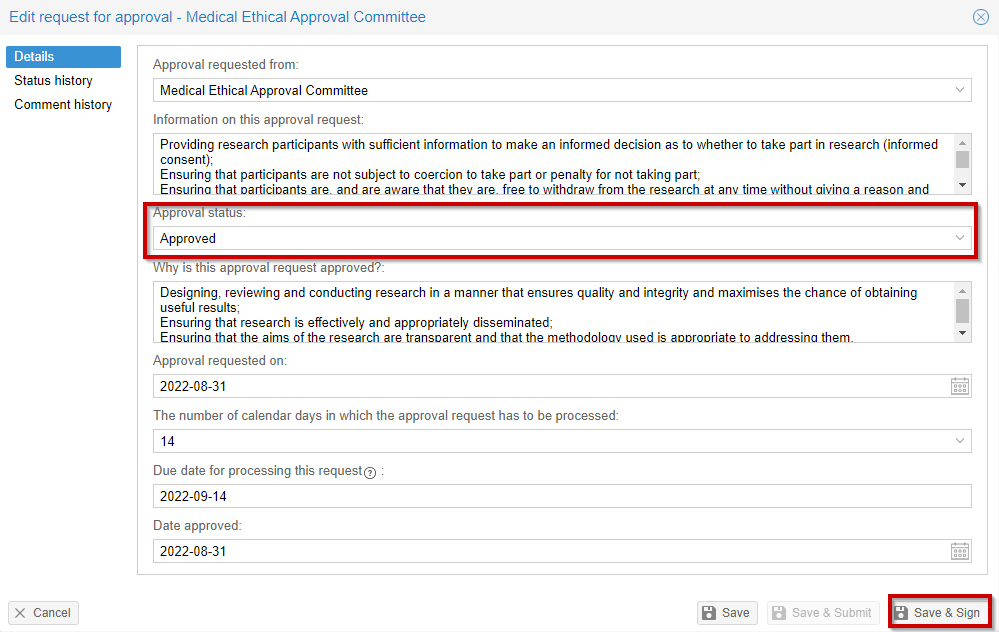
- When setting an approval request to 'Approved', a button appears that allows approvers to save and sign the approval request request immediately. Clicking the 'Save' button will store the request and it will be possible to sign it later.
- Status history shows an overview of the status changes
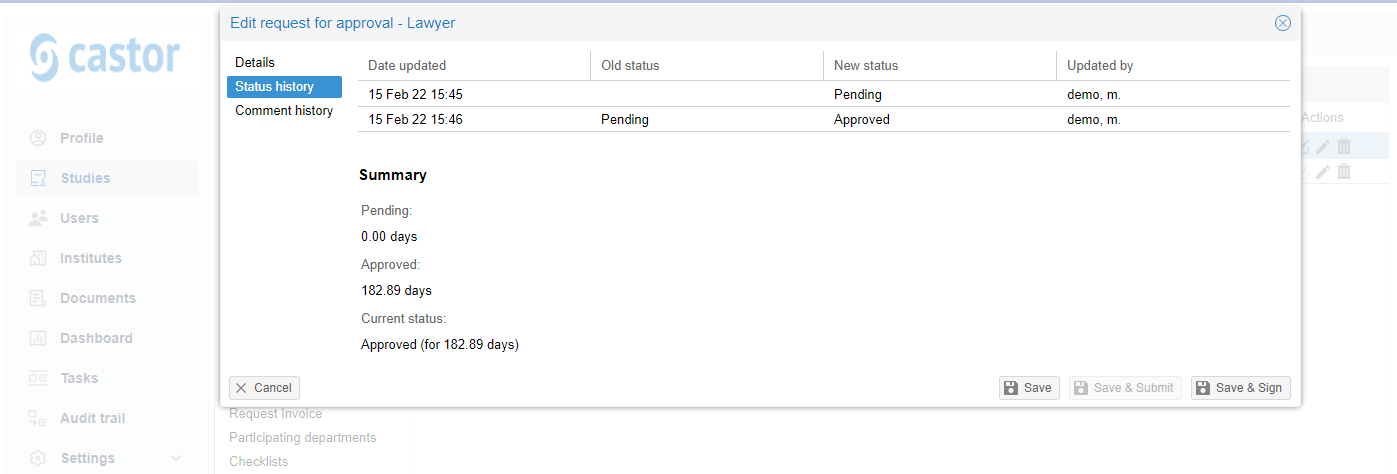
- Comment history displays all comments that have been added to a particular approval request

- If configured in the general settings (managed by the system administrator), the study contacts will receive an email notification regarding the changed status of the approval request.
Sign an approval request
- Go to the 'Studies' tab.
- Open a study.
- Go to the 'Approval requests' tab.
- Use the right mouse click or action-icon to select 'Sign' (please note: it is only possible to sign an approval request that is approved).

- Or fill in the form and click on 'Save and Sign'.
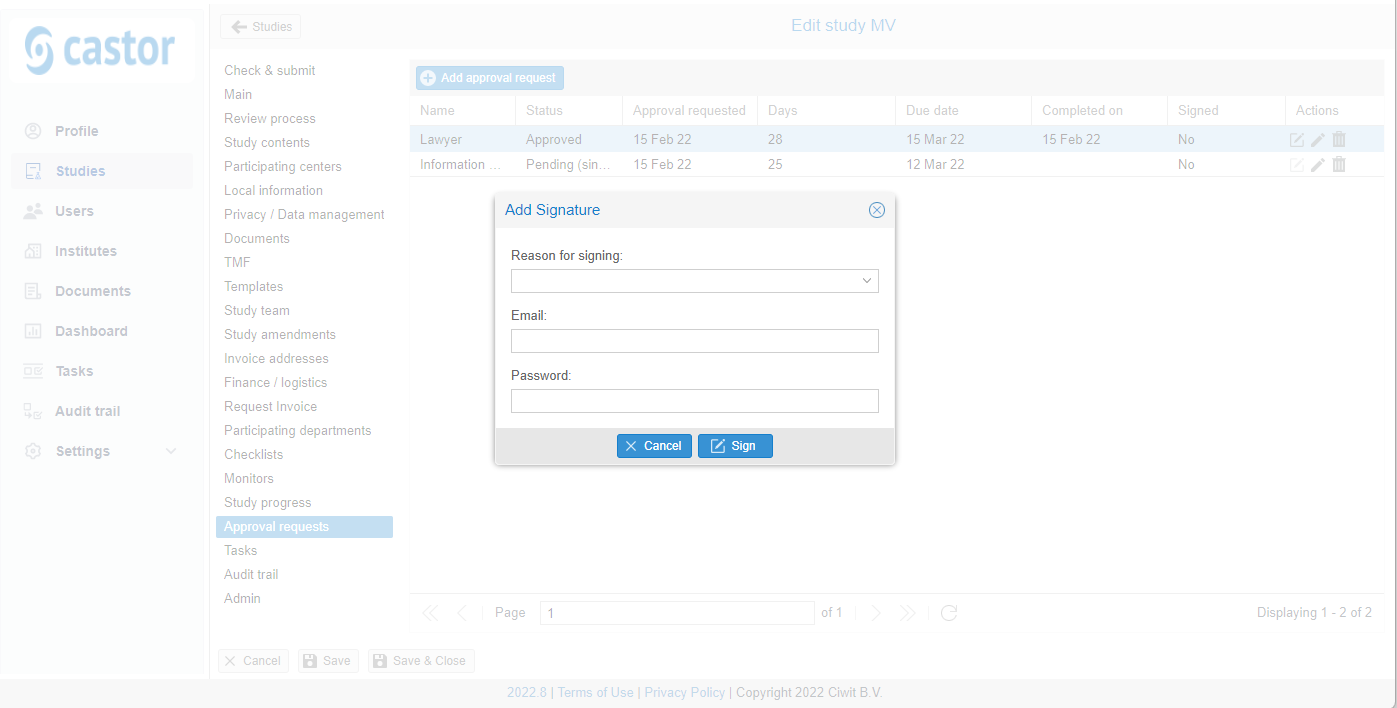
The signature is now added to the approval request.
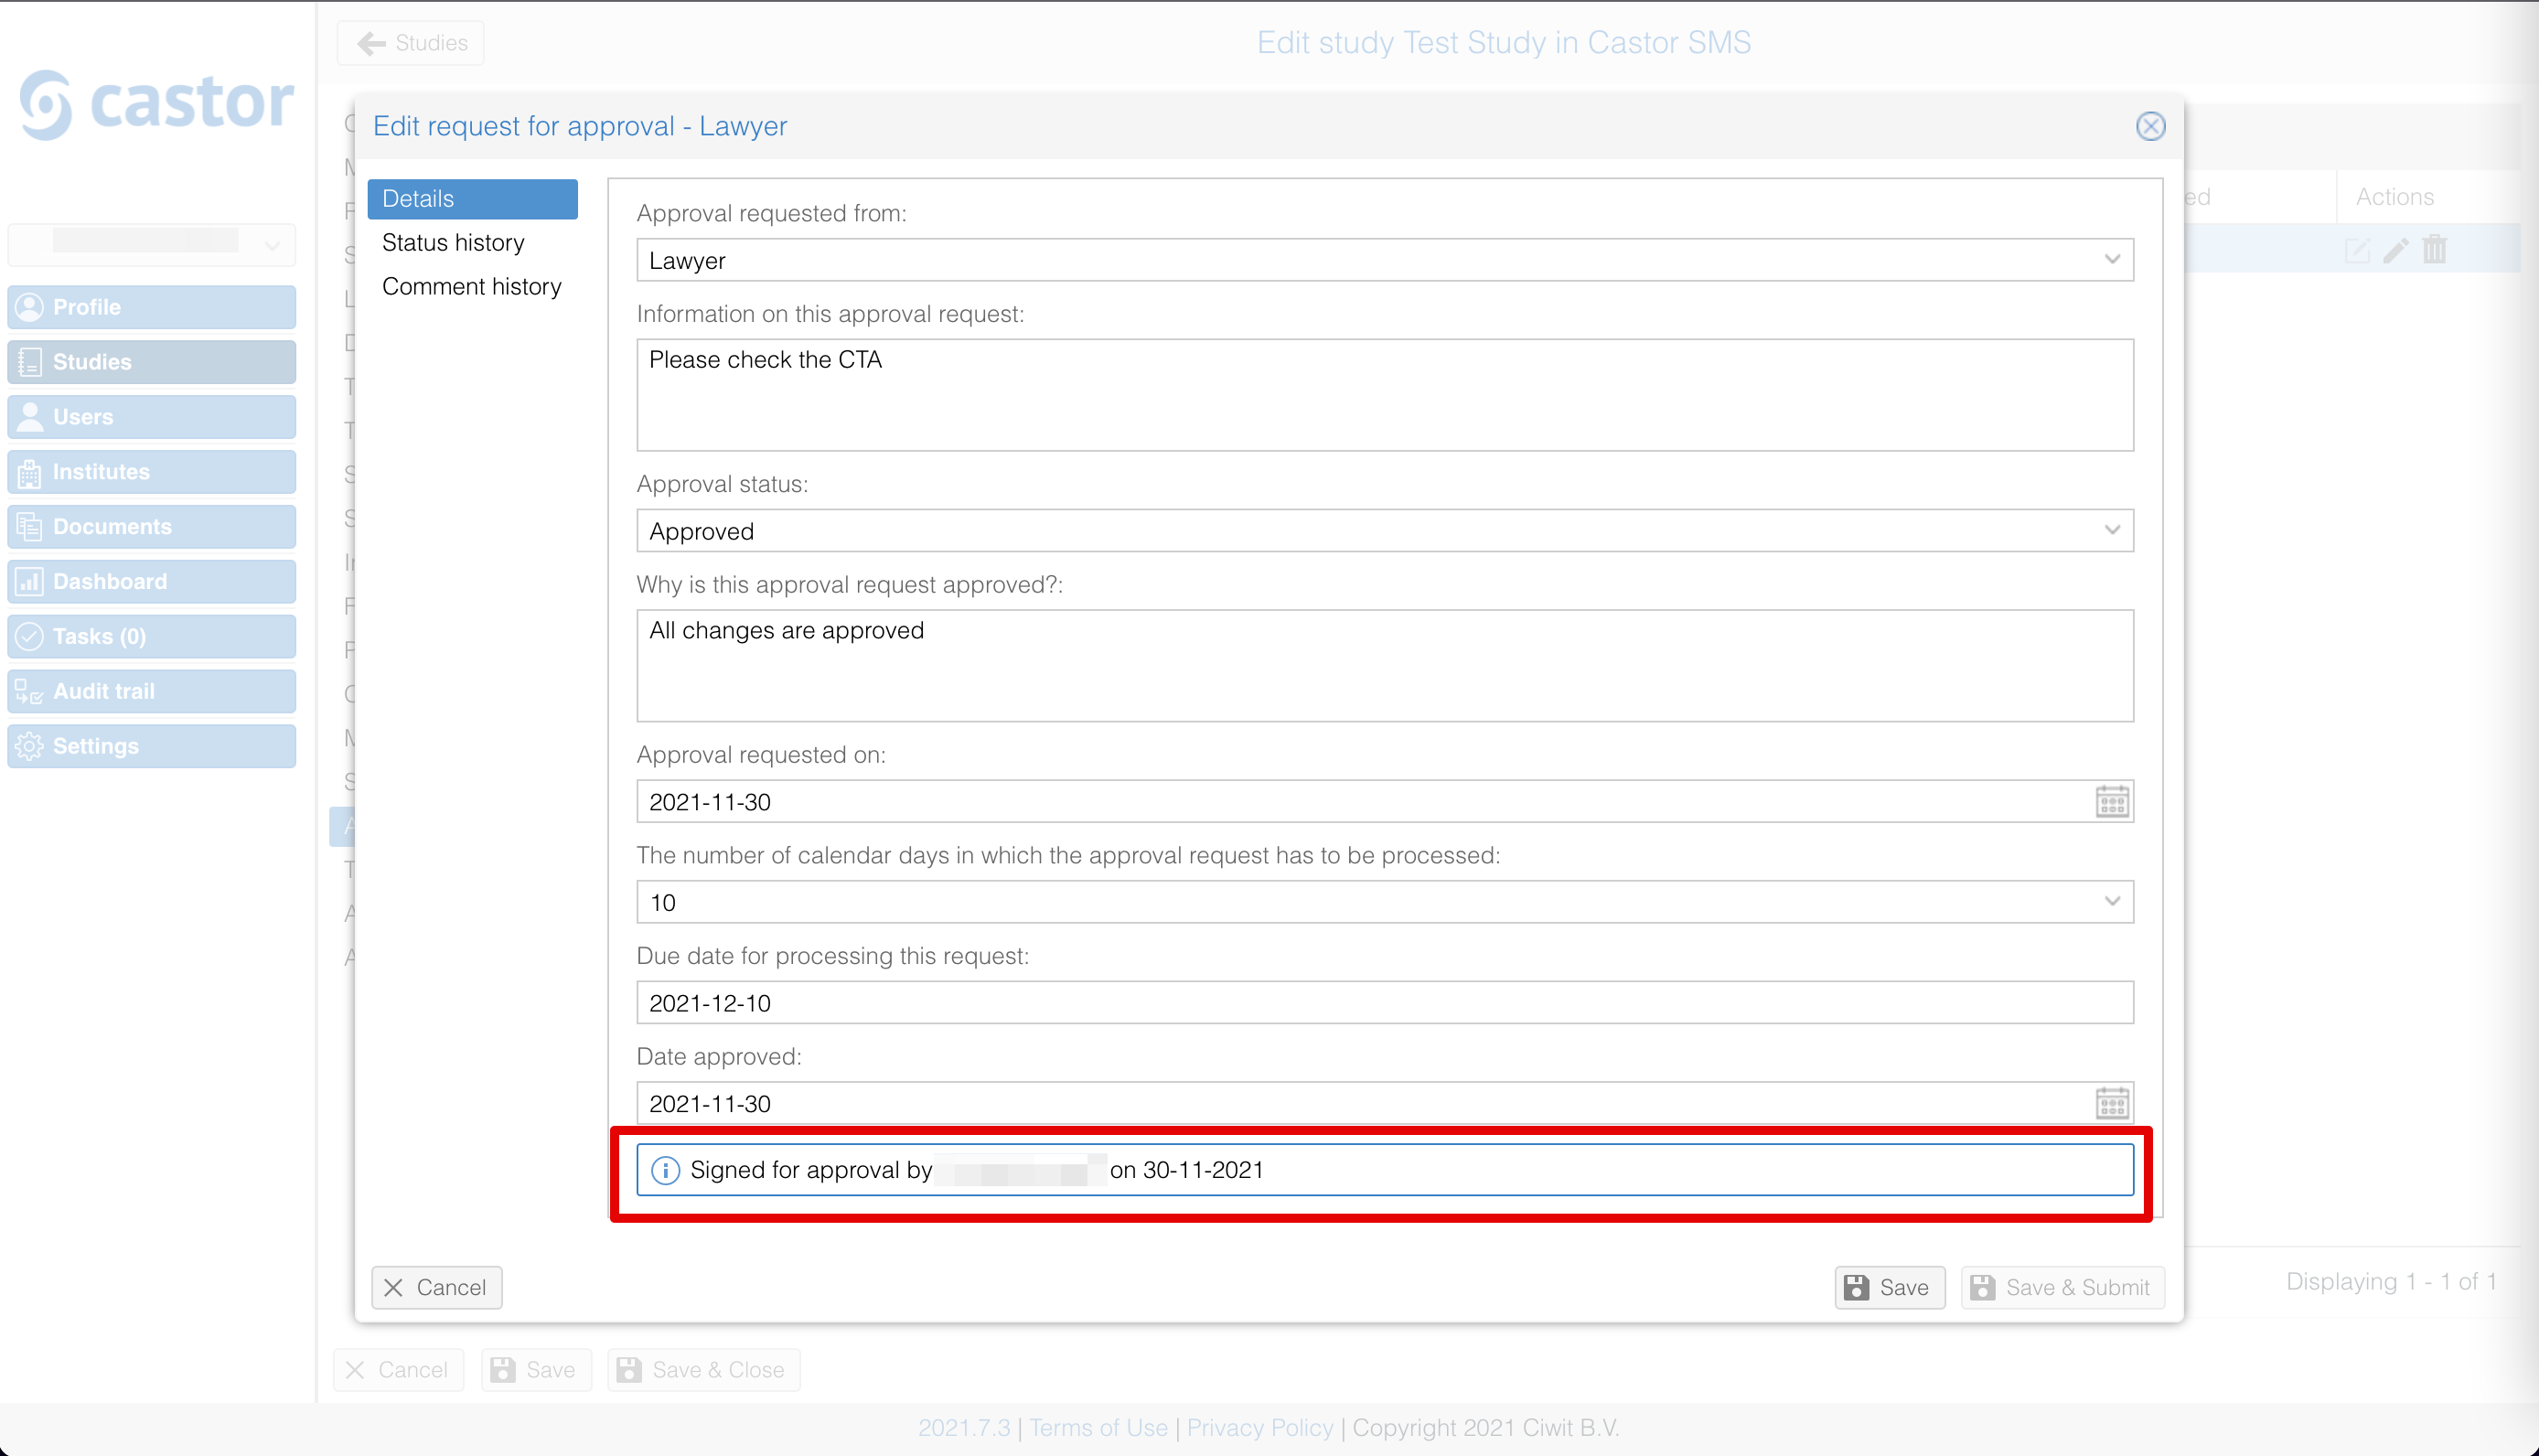
Any changes to the signed approval request will drop the signature.
Manage inactive approval requests
When you create an approval request, by default it will be set as "Inactive".
Once a study has been saved & submitted, the 'save & submit' button will be greyed out, as there is no need to submit the approval request again. In addition, the 'save & submit' button might be greyed out for admin users, as they submit approval requests by changing the status to 'pending' and pressing 'save'.
The receiver will still be able to make changes on inactive approval requests. If the user only save the changes, the approval request will remain with the same status. If the user make changes and then click on "Save & Submit", the approval status will automatically be switched from inactive to pending.
Please, bear in mind that the user is not able to change the approval request status themselves, the status modification mentioned above is made by the system due to the "saved and submitted" change itself. You will see below how the approval requests are shown to the admin and to the user.
How users and admins sees approval requests:
It is important to highlight that users will never see the option to change the approval request status themselves, only if they have an approver role.
How users see:
- They can still change any of the fields shown bellow
- Normally have the options to "Save" and "Save & Submit" always available. On the screenshot below, the "Save & Submit" is not suitable for use because the approval request has been already approved and on this case, they can only save changes.
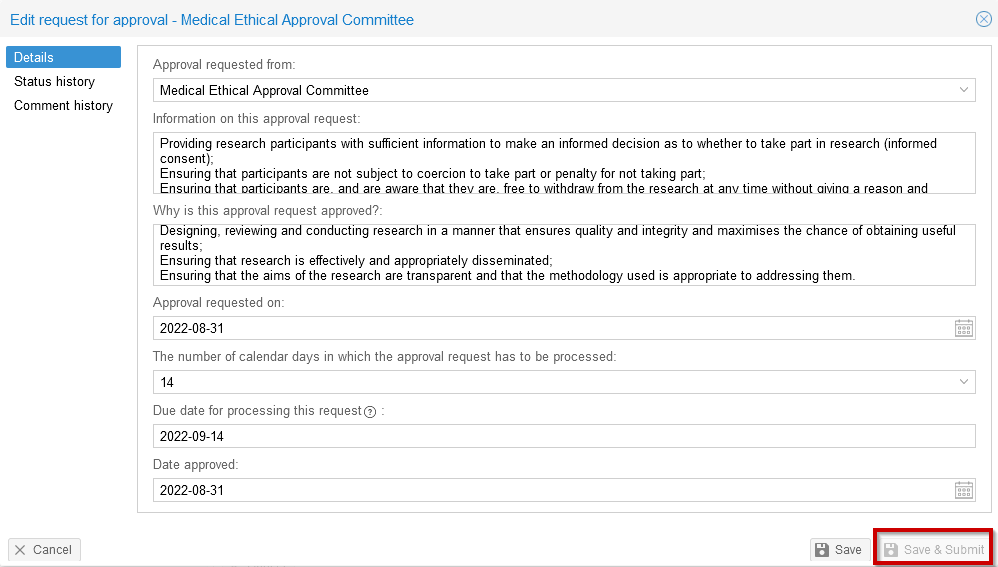
How admins see:
- Can see the "Approval status" dropdown.
- They can use the options to "Save" or "Save & Sign" (this last is shown if the status is approved, otherwise they will only see "Save").
Remind that the "Save & Submit" option will only be available if the approval request has never been submitted by the admin before.
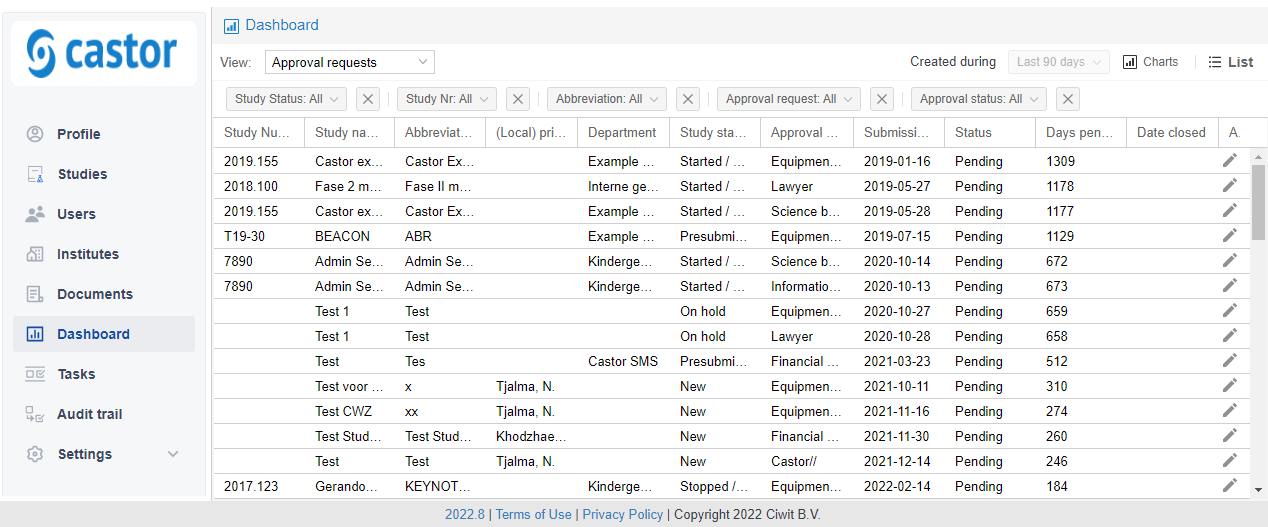
Overview of all approval requests
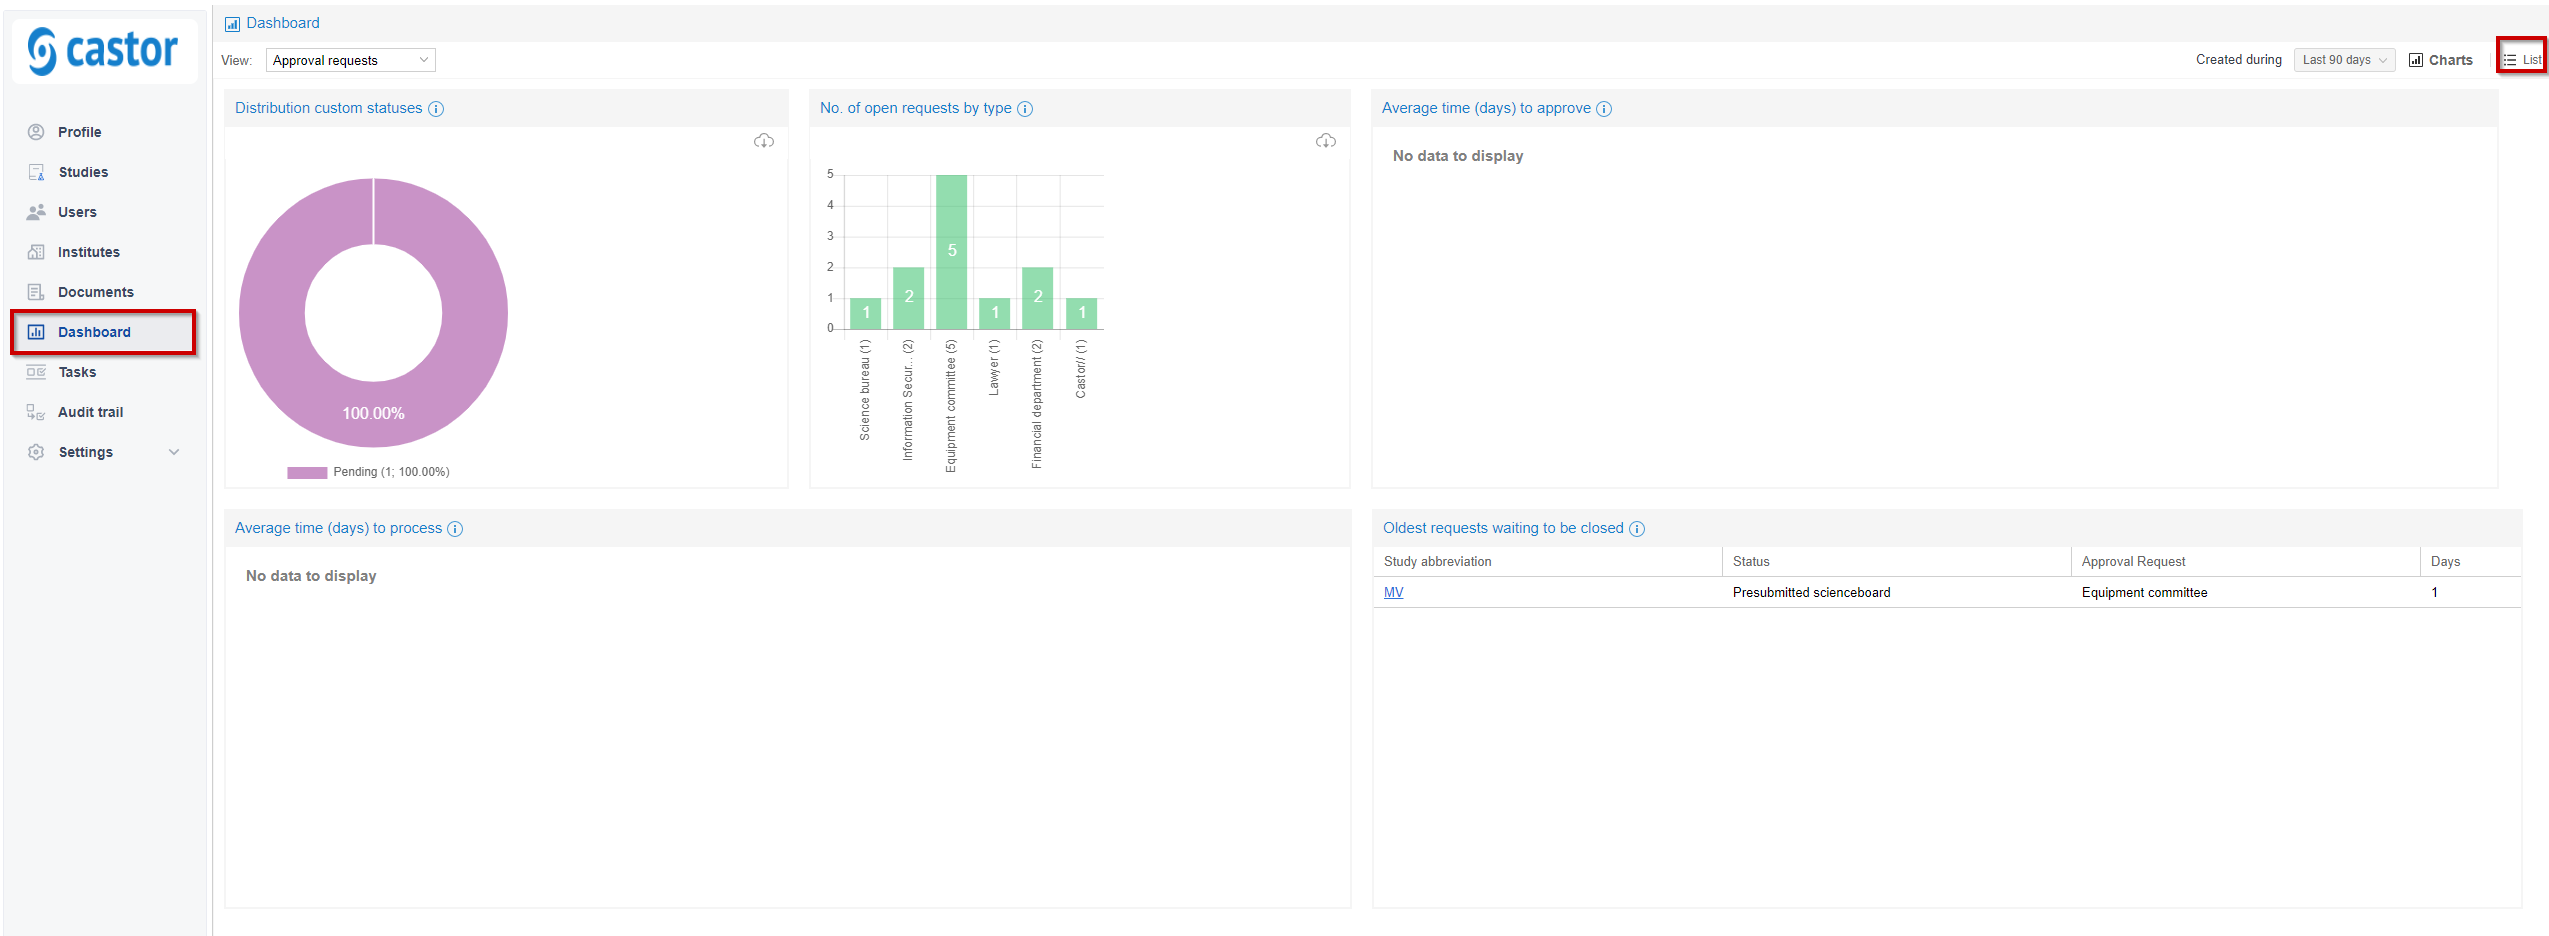
- Go to the Dashboard tab;
- Open the List view in order to see all approval requests including the status;
- Double click on a study in order to open.
