The 'Users' tab (User Management) in CDMS
Table of Contents
The ‘Users’ tab is where all user rights and roles are managed.
Any individual who needs to access a part of the study must be added to the study as a user using their email address.
In previous releases, individual user rights were defined on site level, but in the 2023.4.1.0 release, we will no longer support setting rights at the user level;
Instead, we will only enable setting permissions at the role level to increase efficiency and security.
This means that roles will be the only mechanism to assign permissions, and assigning and overriding permissions at the user level will not be possible anymore.
Only users with the 'Manage users' permission can access the ‘Users’ tab.

- The 'Filters' field can be used to filter the displayed users:
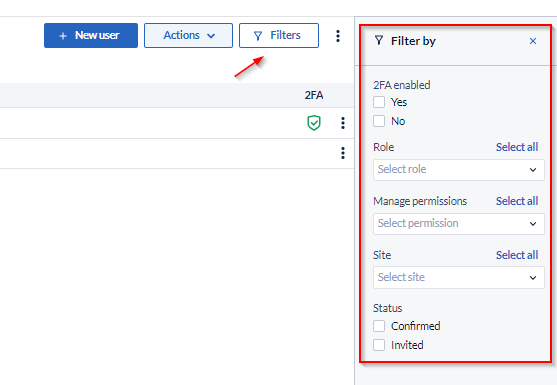
This is useful if you have many users and you want to quickly locate a user. The filter works on name / last name only, users cannot be identified by their email address.
- The '+ New user' button is used to invite new users to participate in the study
More details about users' invitations are provided here.
- The 'Edit Roles' (from the kebab menu) allows the administrator to assign roles.
More information about user roles are provided here.
- ‘First name’ and ‘Last name’ columns list all of the users first and last names.
- The ‘Status’ column displays the status of the user.
This can either be "Confirmed" for a user who has already created a Castor account and can access the study, or "Invited" for a user who has not yet created an account. Once the invited user registers their account, the status will change to "Confirmed".
- ‘Site(s)’ column displays the number of site which the user has access to.
- The ‘Email’ column shows the email of a user.
- In the ‘2FA’ column you will be able to see if a user has the two-factor authentication enabled.
By clicking on the kebab menu (the three dots icon) a study admin can edit the user and assign/remove roles.
Adding a user
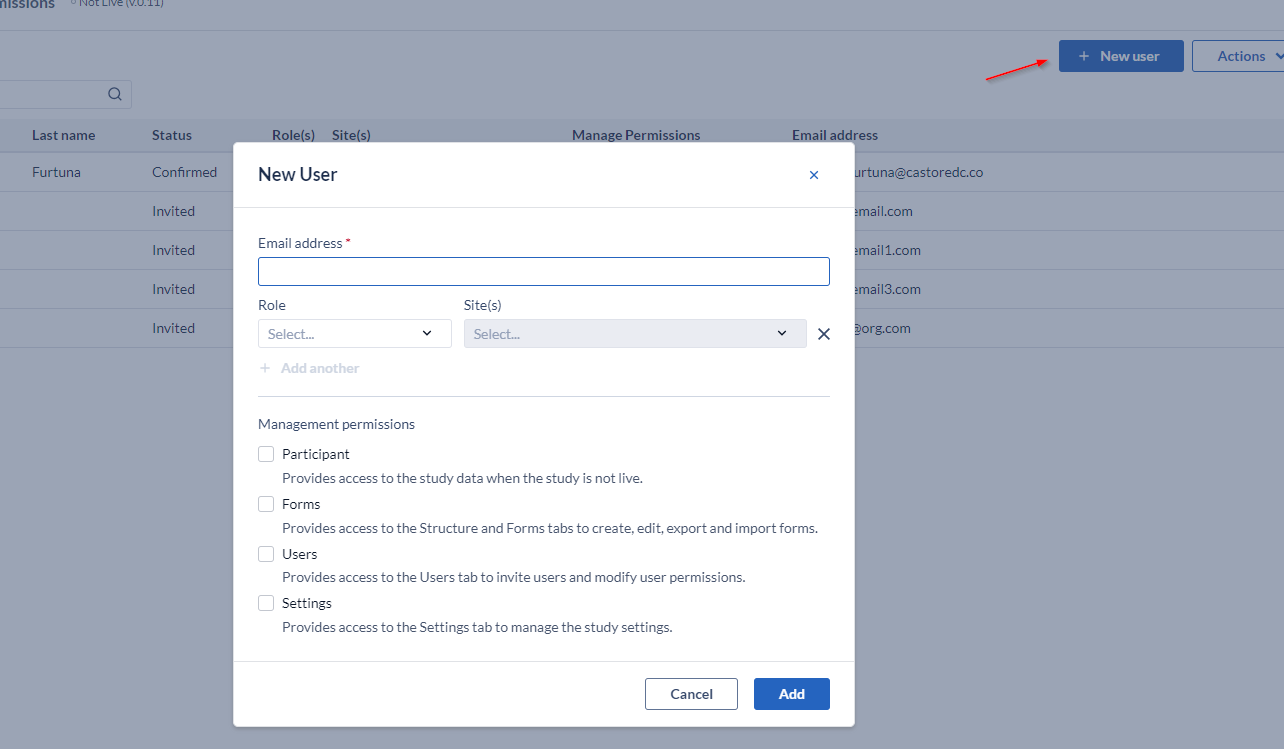
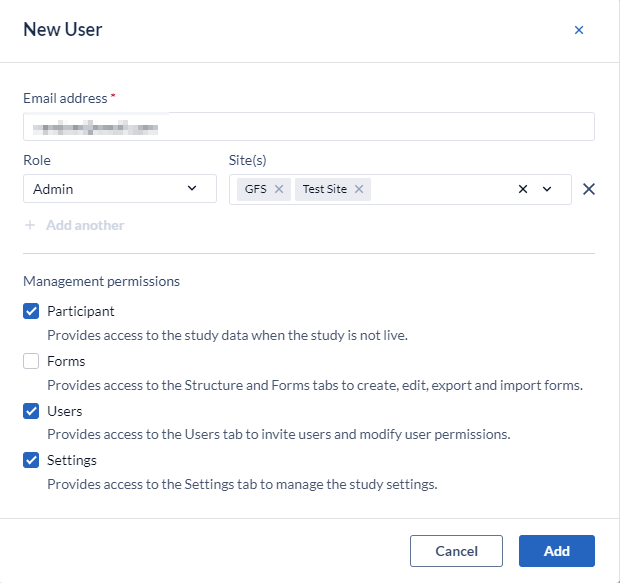
How to add a user:
- Click on “+ New user”
- Add email address (required field)
- Select role
- Select site
- Check the boxes on the Management permissions section, as needed
- Click Add
For each user, roles can be assigned:
- Per site:
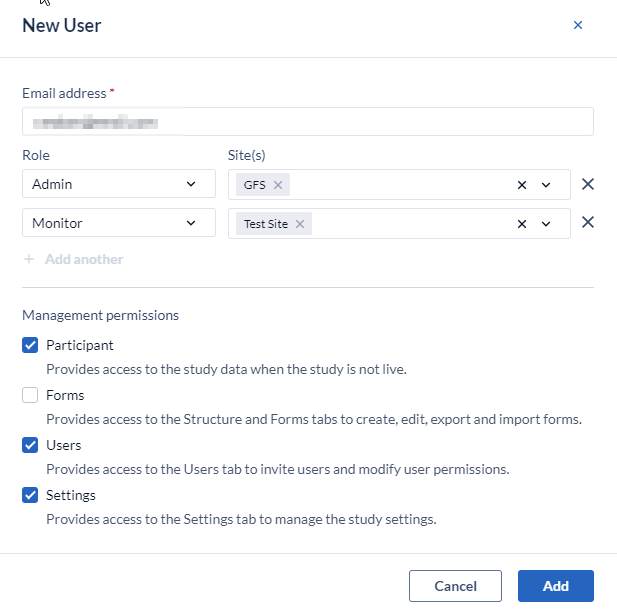
- Or in bulk for all of the available sites:
Managing roles and permissions
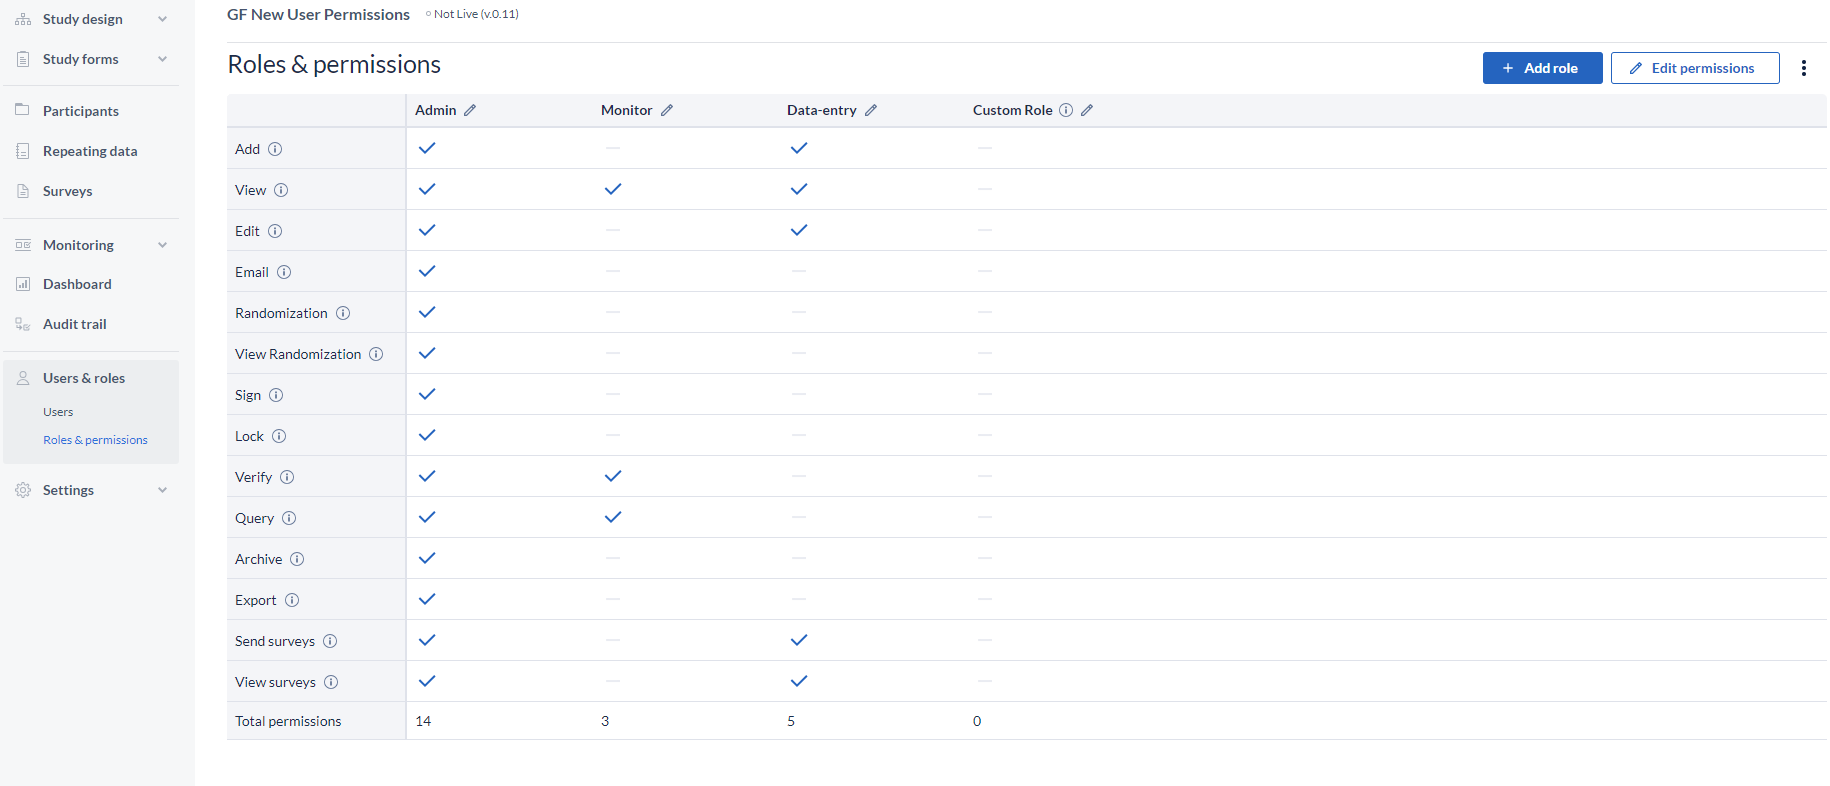
The Roles & permissions page:
It provides a complete overview of the current roles, but also it gives the possibility to the admins to create Custom Roles, which they can assign to users.
Adding a role
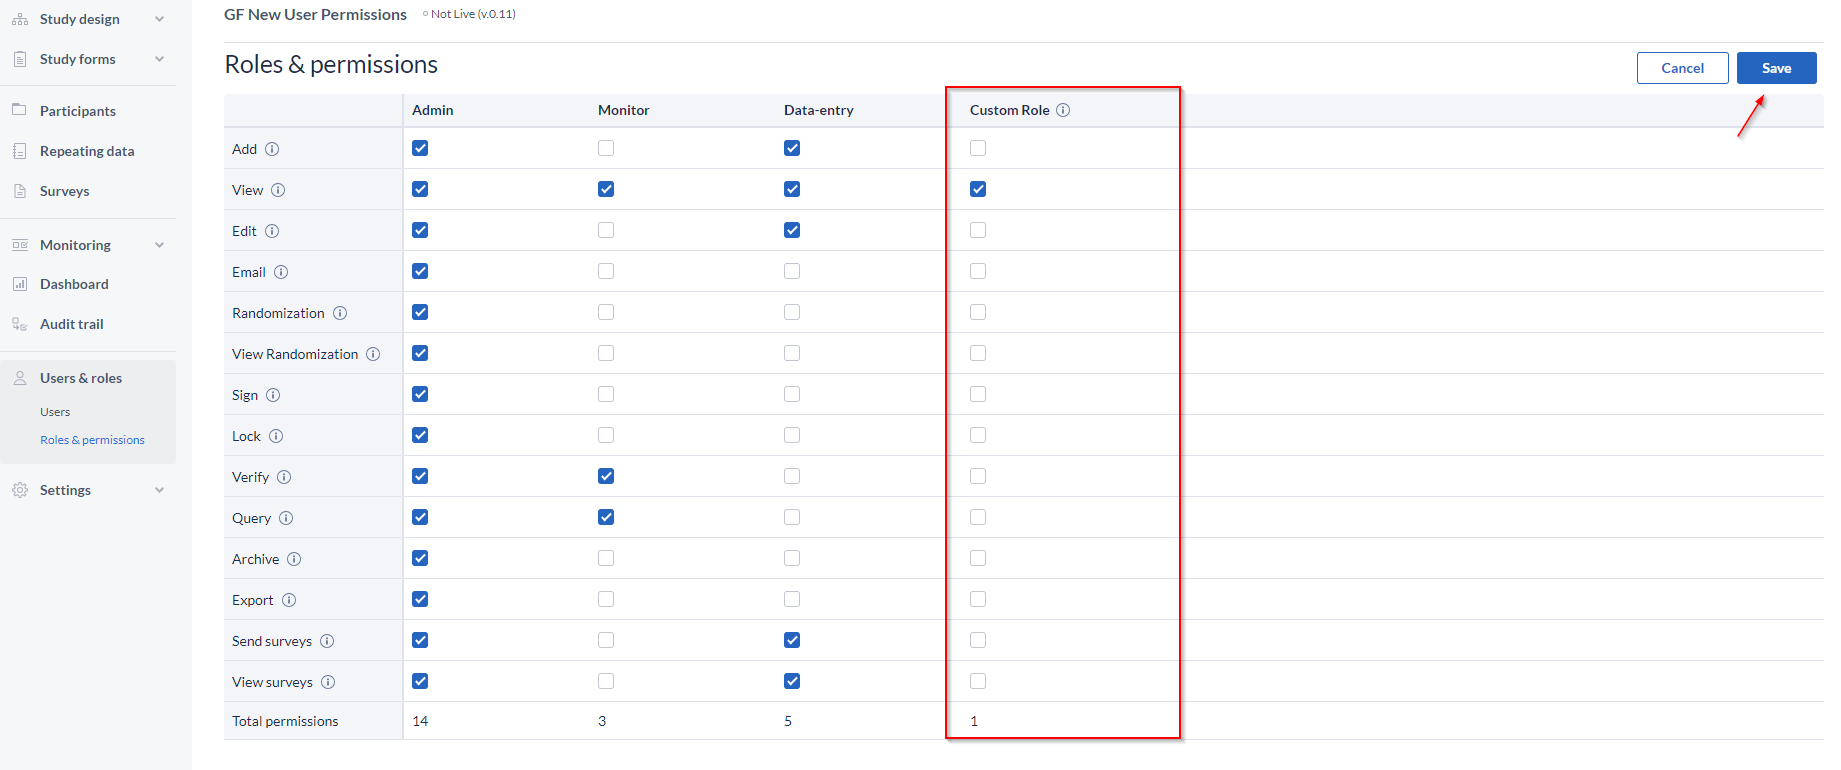
How to add a role:
- Navigate to the “+Add role”
- Add name (and description, if applicable)
- Click “Add” (by default, the permissions are 0)
- Click “Edit Permissions”
- Check each box, as needed
- Save the change
Editing/deleting a role
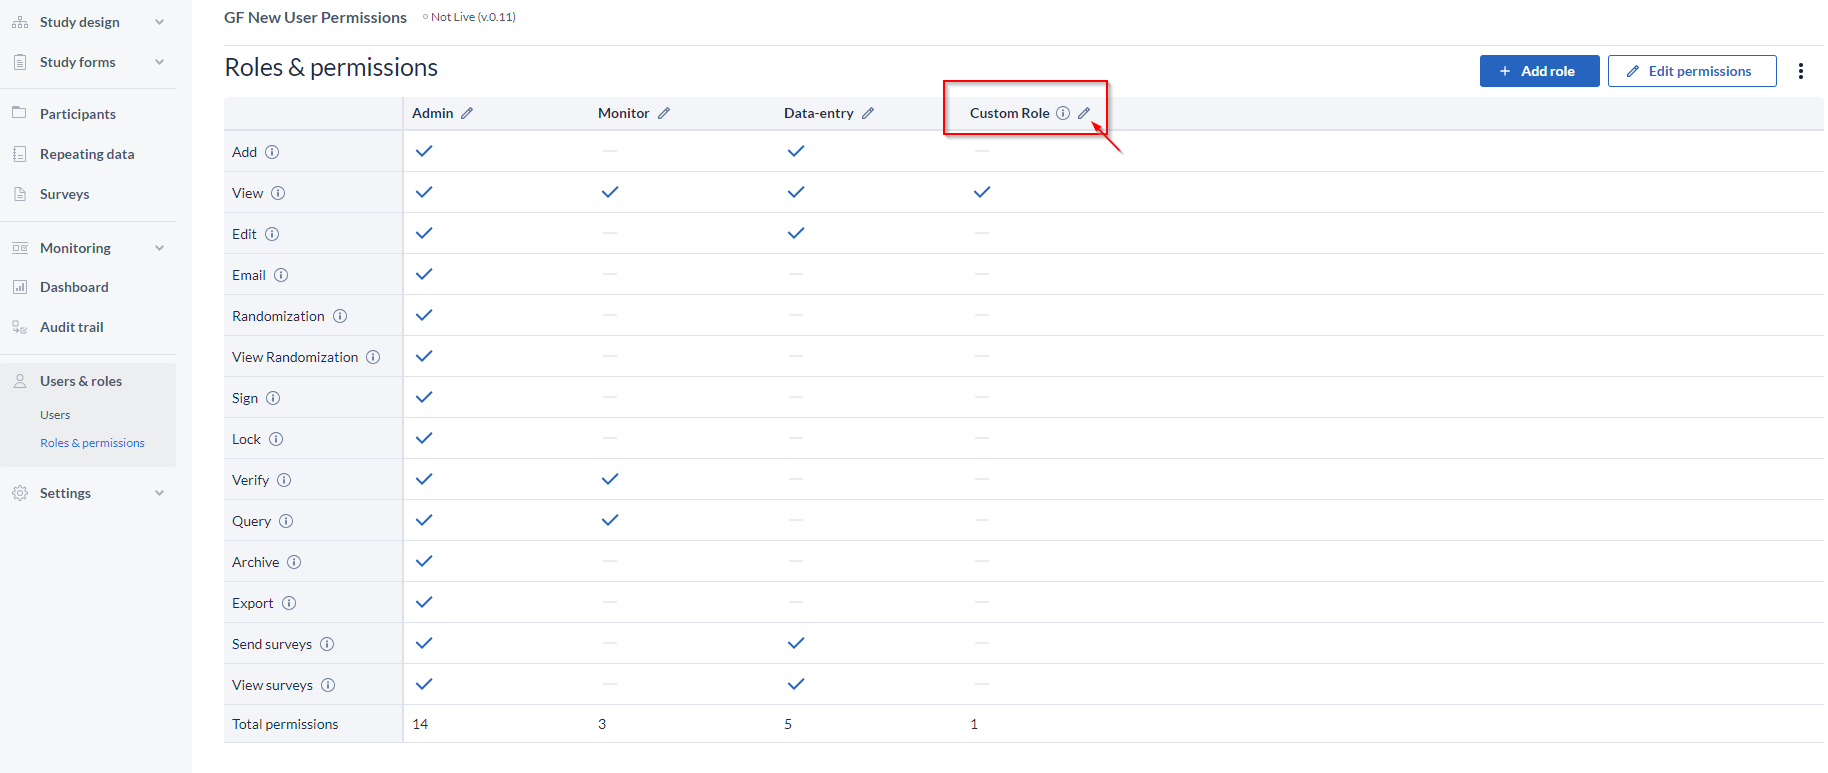
How to edit/delete a role:
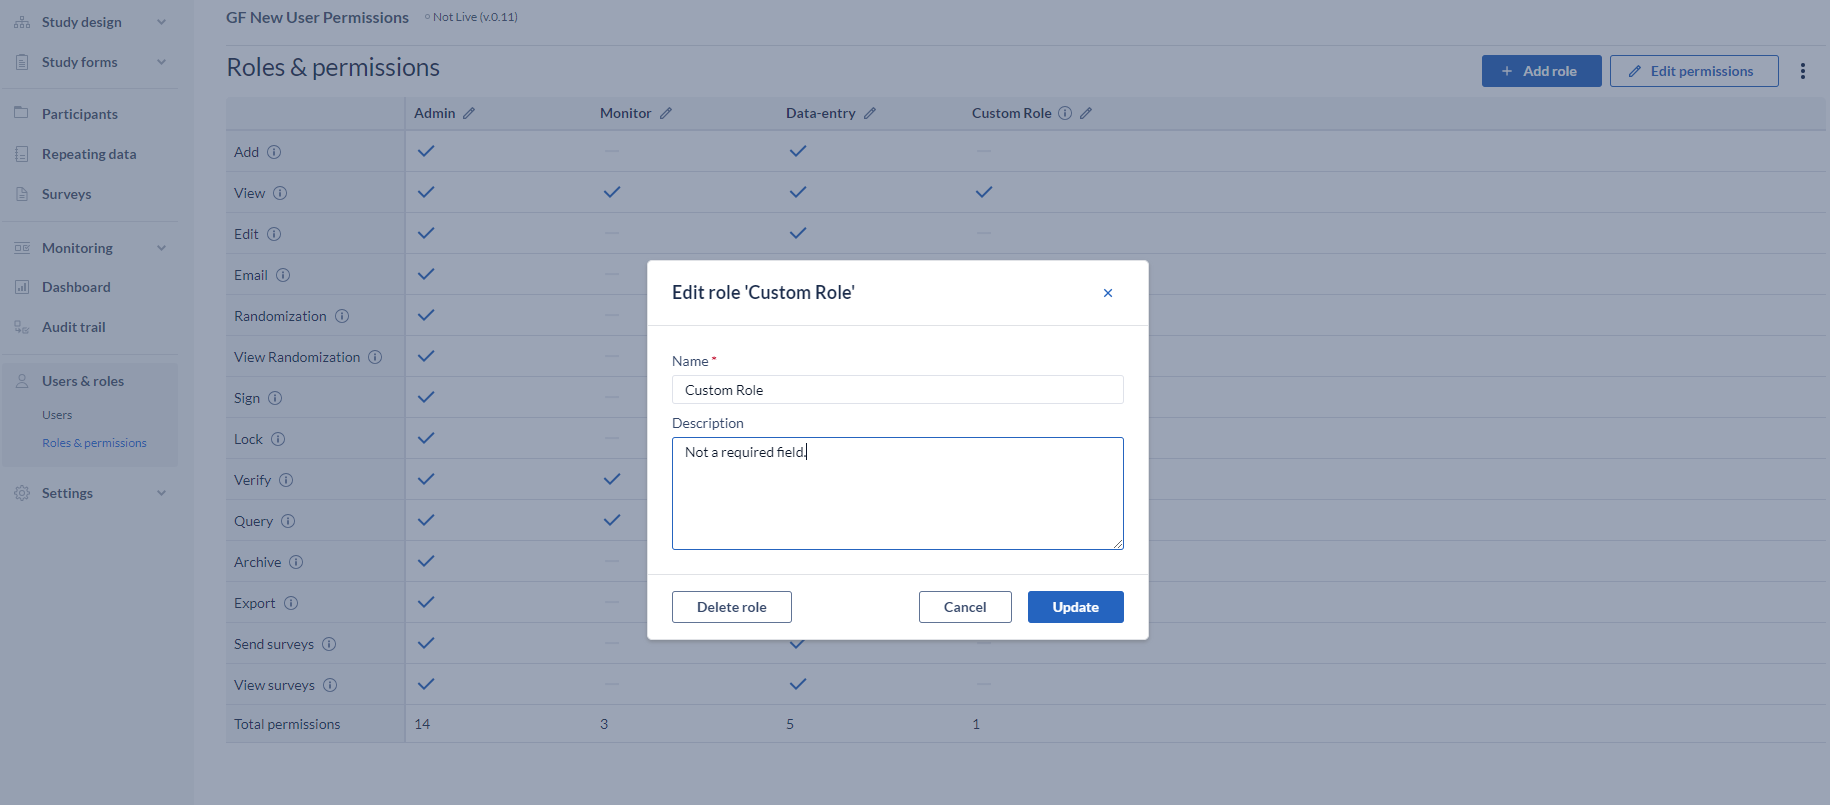
- Go to the pencil icon, next to the name;
- Edit the name or add a description, as needed;
- Delete by clicking the “Delete Role” button, and confirm the action;
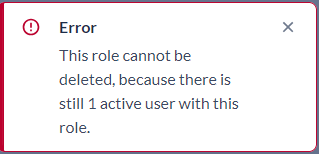
Deleting roles that have already been assigned to users is not feasible.
An error message will appear, indicating the number of users currently associated with the role.
